Hey there! In this guide, we’ll learn basic Git commands for using GitHub. Just follow these steps to have a smooth experience with Git and GitHub.
- Git Basic Commands for Every Developer
- Step 1: Configure Username and Email
- Step 2: Create a New Repository on GitHub
- Step 3: Navigate to Your Local File or Folder
- Step 4: Initialize Your Folder
- How to change the existing branch to a new branch?
- Step 5: Add Files or Folders to the Staging Area
- Step 6: Commit Changes
- Step 7: Connect Local to Remote
- Step 8: Push Changes to GitHub
Git Basic Commands for Every Developer
Step 1: Configure Username and Email
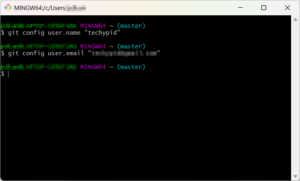
When opening Git Bash, the first step is configuring login credentials using the commands git config user.name and git config user.email. If you want to set these globally, use the –global flag. Once this step is completed, Git is aware of your identity for the specific project or globally.
git config user.name "YourUsername"
git config user.email "[email protected]"
Step 2: Create a New Repository on GitHub
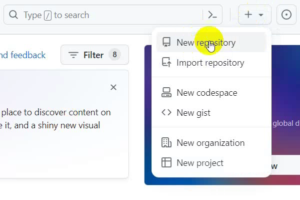
If you want to upload a new project to GitHub, start by creating a repository on GitHub. Click the “+” sign or “New” button to initiate a new repository.
Step 3: Navigate to Your Local File or Folder
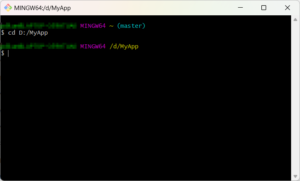
In Git Bash, navigate to the location of your file or folder. For instance, if your folder is in the D drive, use the command cd D:/yourfolder.
cd D:/yourfolder
Step 4: Initialize Your Folder
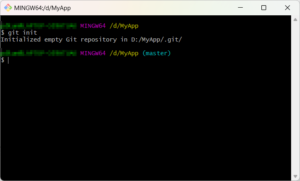
Before adding files, initialize your directory using git init. This step is crucial to avoid errors.
git init
How to change the existing branch to a new branch?
There are two main ways to change your existing branch to a new branch in Git
Checkout the new branch:
If the new branch already exists, use git checkout<Already_branch_name> This will switch your working directory to the new branch.
Create and switch to the new branch:
If branch does not exist, use git checkout -b <new_branch_name> This will create a new branch named based on your current branch and then switch your working directory to the new branch.
Step 5: Add Files or Folders to the Staging Area
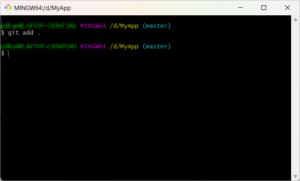
Add files or folders to the staging area using git add. This step is necessary to prepare changes for a commit.
git add .
git add .
Step 6: Commit Changes
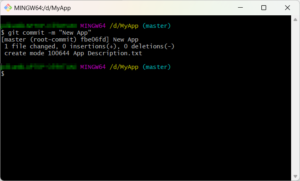
After adding files, commit them with a specific message using git commit. Commit messages explain the changes made.
git commit -m "Your descriptive message here"
git commit
Step 7: Connect Local to Remote
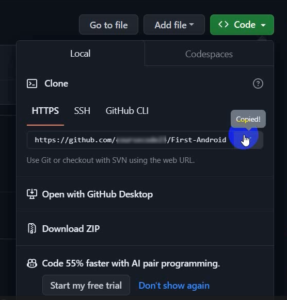
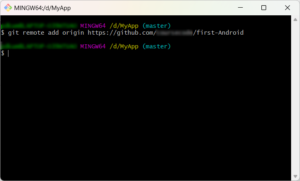
Before pushing changes, connect your local repository to the remote GitHub repository using git remote add origin . Paste the repository URL where indicated.
git remote add origin <URL of remote repository>
git remote add origin
Step 8: Push Changes to GitHub
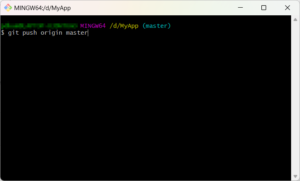
Finally, push your files or folders to GitHub using git push. For example, git push origin master. If you’ve changed your branch name, use git branch -M main to set it as the main branch.
git push origin master
git push origin master
Great job! You’ve learned the essential Git commands for collaborating on GitHub. Now, you can confidently upload and manage your projects, contributing to the collaborative development community. Keep coding and exploring the many possibilities that Git has to offer!